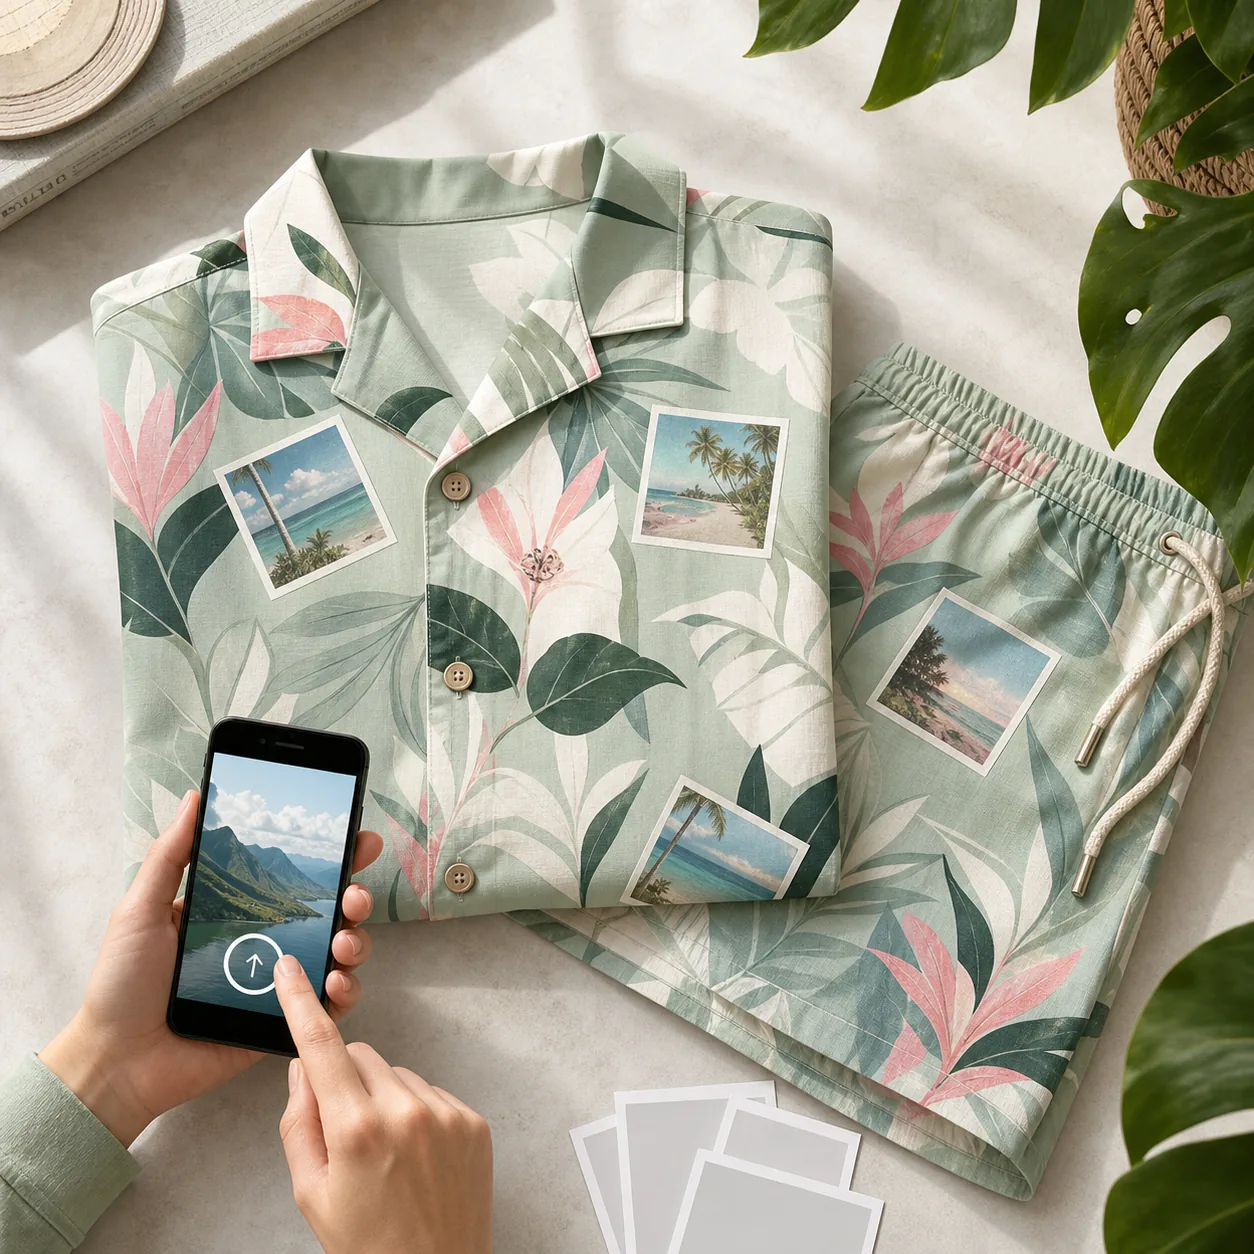
Adding your own face, a pet, a group photo, or a personal logo is the quickest way to turn plain apparel into something that feels genuinely yours. A single good image can make a Hawaiian shirt, a pair of beach shorts, or a matching shirt-and-shorts set the highlight of a vacation, bachelor party, cruise, pool day, family event, or gift.
The catch is simple: your finished print is only ever as good as the photo you upload. A crisp original gives our design team plenty of detail to work with, while a blurry screenshot or a heavily compressed social-media image can look soft once it is enlarged across fabric. This guide walks you through choosing, preparing, and uploading the right photo for custom apparel at The Stylish Stoner Boutique.
You can start from any of these collections:
What makes a good photo for custom apparel?
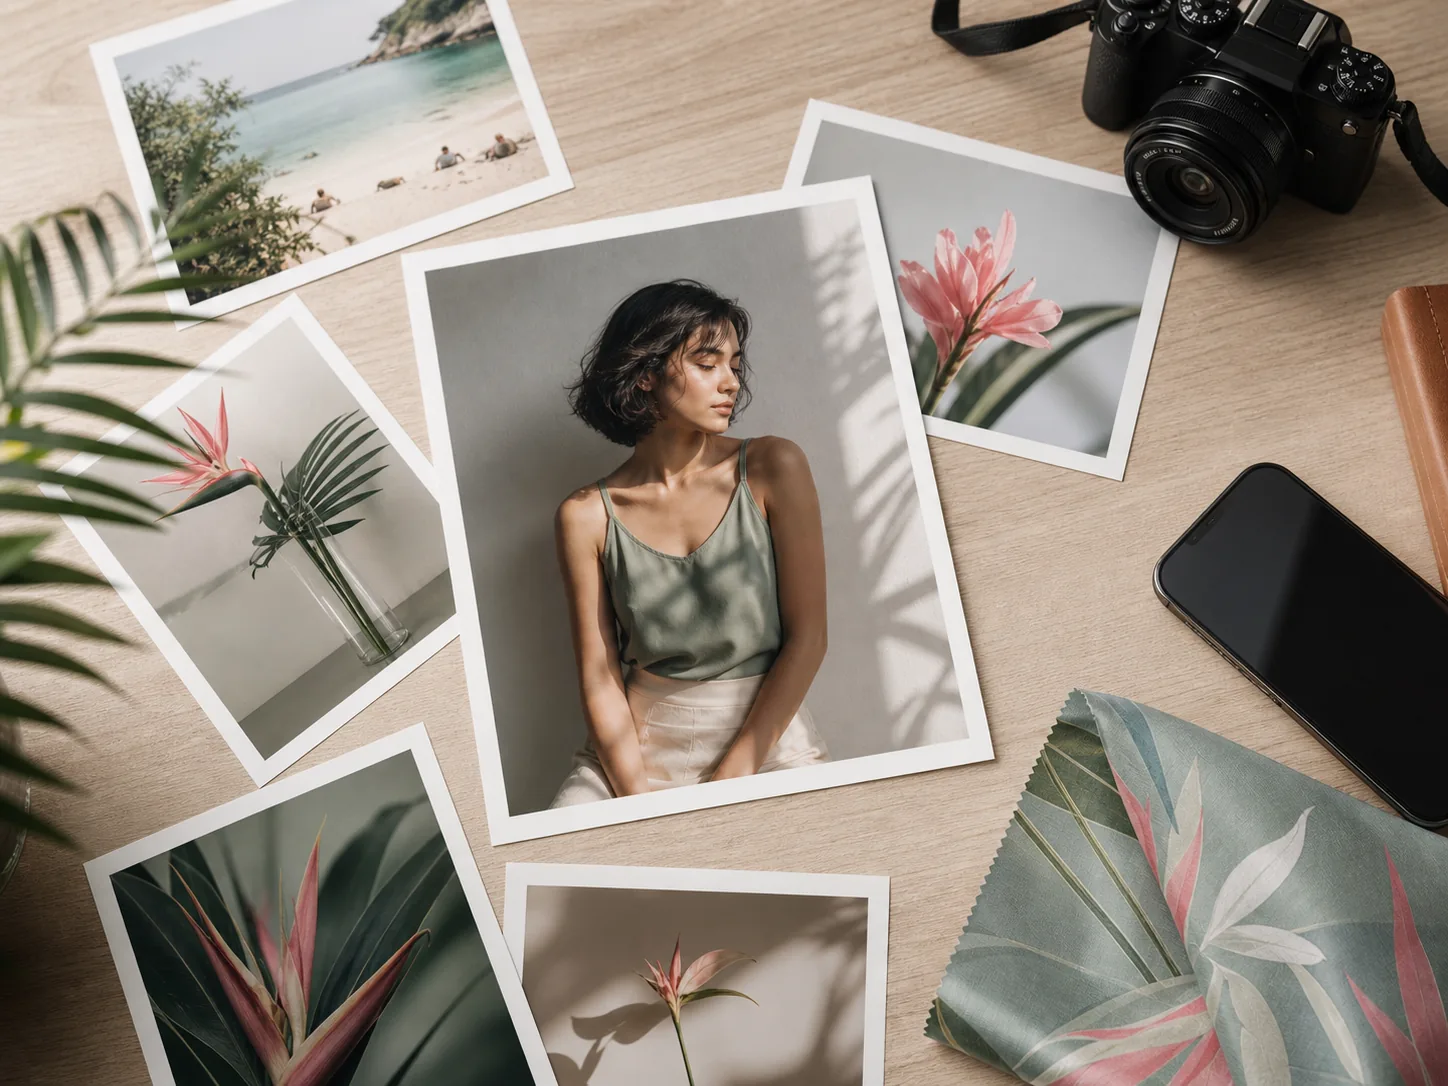
The best image is not the most professionally styled one. It is simply the photo that shows your subject clearly and carries enough detail for a full-size print. Look for:
- Sharp focus on the face or main subject
- Even lighting with no heavy shadows
- A subject that is not hidden by hands, hats, or sunglasses
- Natural colours and realistic skin tones
- A little space around the subject for cropping
- The highest original resolution you have
For a face print, a front-facing or slightly angled portrait works best. For a pet, pick a shot where the eyes and features are easy to see. For a group design, avoid photos where the key people are tiny or crowded together. Steer clear of blurry images, screenshots, pictures forwarded repeatedly through messaging apps, and anything with extreme filters. If you have several options, compare the originals at full size before deciding.
Photo file types and image quality
JPG and PNG are the most practical formats for photo uploads. JPG suits most standard photographs; PNG is handy when you need transparency or are working with a prepared graphic. If a product page lists specific file requirements, follow those first, because they can vary by product.
Whenever possible, use the original file straight from your phone or camera. A photo that looks sharp on a small screen may not hold enough detail when it is stretched across a shirt panel. As a rough printing guideline, aim for artwork around 200–300 DPI or higher — but pixel dimensions matter just as much, since a large, high-pixel image gives the team more room to position and resize.
Before uploading, confirm the file opens normally, is not corrupted, shows the subject clearly at full size, is not heavily compressed, and is an accepted format on the product page. One thing to remember: enlarging a tiny image will not sharpen it. Upscaling can make a file bigger, but it cannot invent detail the camera never captured.
How to prepare your photo before uploading
1. Start with the original image
Choose the highest-quality version you have. If the picture was sent through a messaging app, dig out the original from your phone gallery, cloud storage, or camera folder instead of the shrunken copy.
2. Crop the subject carefully
Trim away unnecessary background while keeping a little breathing room around the head, shoulders, pet, or logo — just don’t crop so tight that part of the subject is cut off. A square or portrait crop is easy to work with for a single face; keep the original shape for wider group shots.
3. Adjust lighting only if needed
Small tweaks to brightness, contrast, or colour can make the subject easier to see. Avoid heavy filters, artificial skin smoothing, or strong colour effects, as these can change how the image prints.
4. Remove the background if it helps
A simple background blends more easily into an all-over tropical print. You can upload the original photo as-is, or prepare a transparent PNG if that suits the design. Not sure? Keep the original and leave a note about the effect you want rather than deleting parts of the image for good.
5. Rename files clearly for group orders
If you are uploading several images, use plain filenames such as groom-front.jpg, alex-face.png, or team-photo-01.jpg. Clear names make mix-ups far less likely across a multi-item order.
How to upload your photo
Upload controls differ slightly between products, so always follow the instructions on the product page you are ordering from. In general:
Step 1 — Choose your product
Decide what you want to customise: a custom Hawaiian shirt for a classic aloha look, custom beach shorts for pool and resort days, or a shirt & shorts set for a fully coordinated outfit.
Step 2 — Open the product page
Pick the design that fits your event, then review the size, colour, and customisation options before uploading.
Step 3 — Add your image
Find the upload or design field, select your prepared JPG or PNG, and wait for it to finish. Don’t refresh or close the tab while the file is processing.
Step 4 — Add instructions if there’s a notes field
Explain what you want plainly, for example:
Please place the groom’s face in the centre of the front design and keep the tropical background visible.
For group orders, list the name, size, and intended image for each item. If there isn’t enough room for detailed notes, contact support before ordering.
Step 5 — Review the design
If a preview is available, check the placement, scale, crop, and colours, and make sure the face or main subject won’t be hidden by a button area, seam, or the edge of the print. No preview? Use the order notes to describe the placement you want.
Step 6 — Confirm size and quantity
Check the size guide before ordering. For a group, gather everyone’s measurements in a simple list and confirm quantities, especially for matching sets.
Step 7 — Place the order
Review the design, size, quantity, shipping address, and total, then check out and save your confirmation in case you need support later.
Which custom product should you choose?
Custom Hawaiian shirts
A strong all-rounder for vacations, cruises, bachelor parties, birthdays, and everyday statement style. A single face, pet, logo, or group shot becomes part of a bold tropical pattern. Browse custom Hawaiian shirts for a button-up aloha look that photographs beautifully.
Custom beach shorts
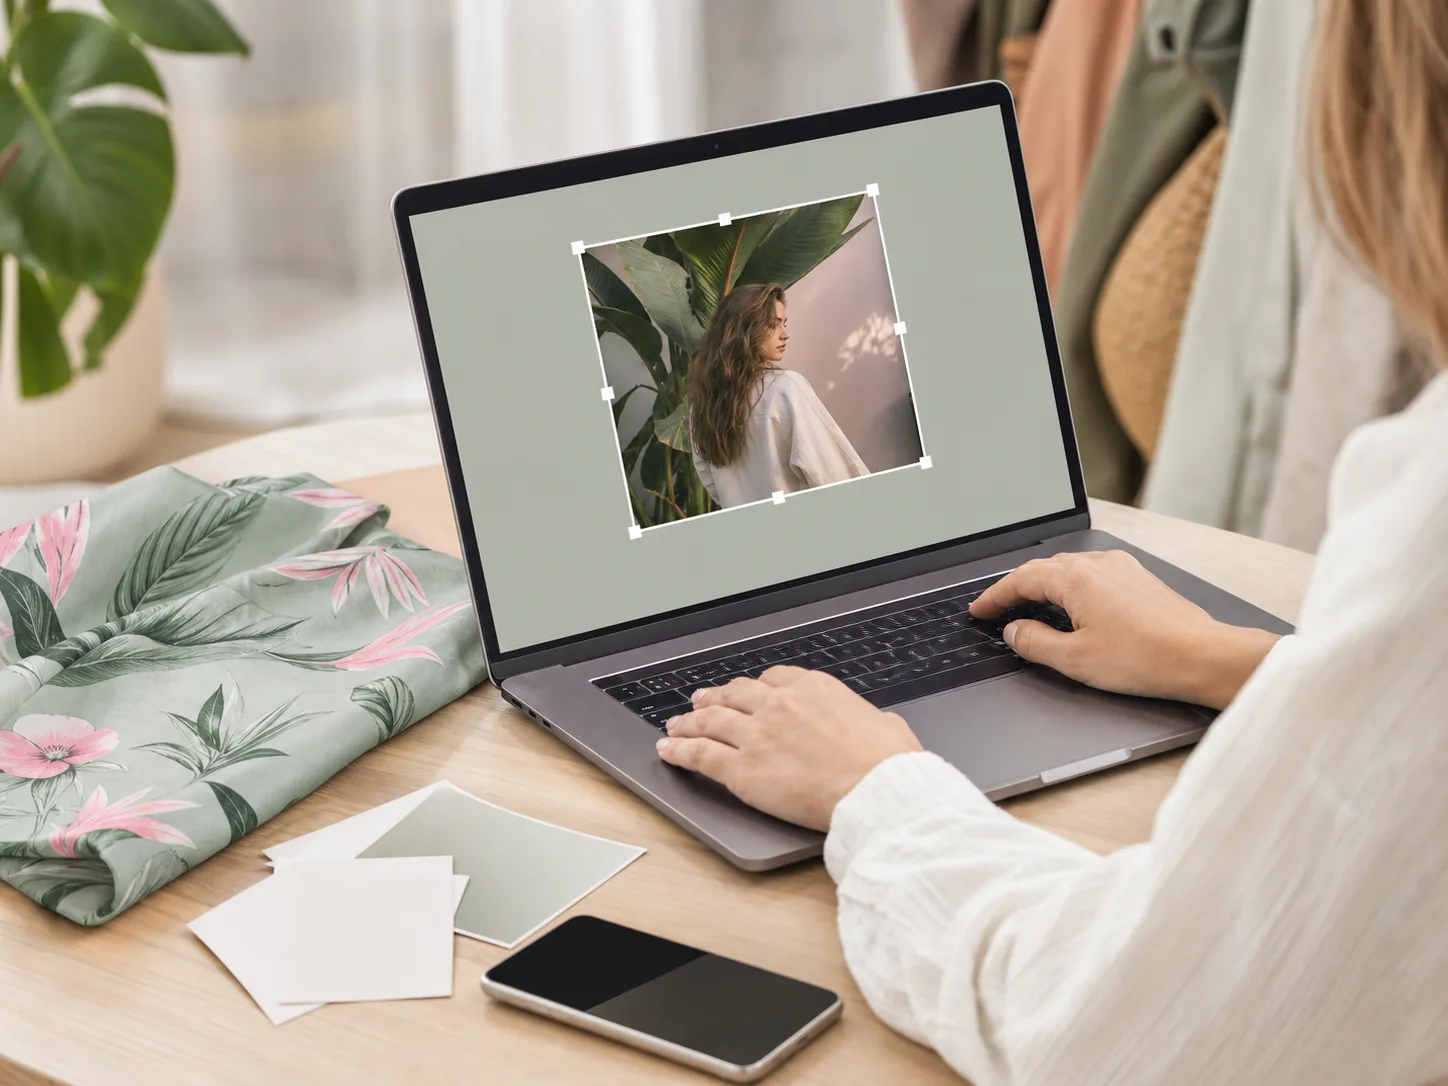
Perfect for pool parties, beach trips, and resort weekends when you want something more relaxed than a shirt. Explore custom beach shorts when the event centres on the beach, pool, or boat.
Custom shirt & shorts sets
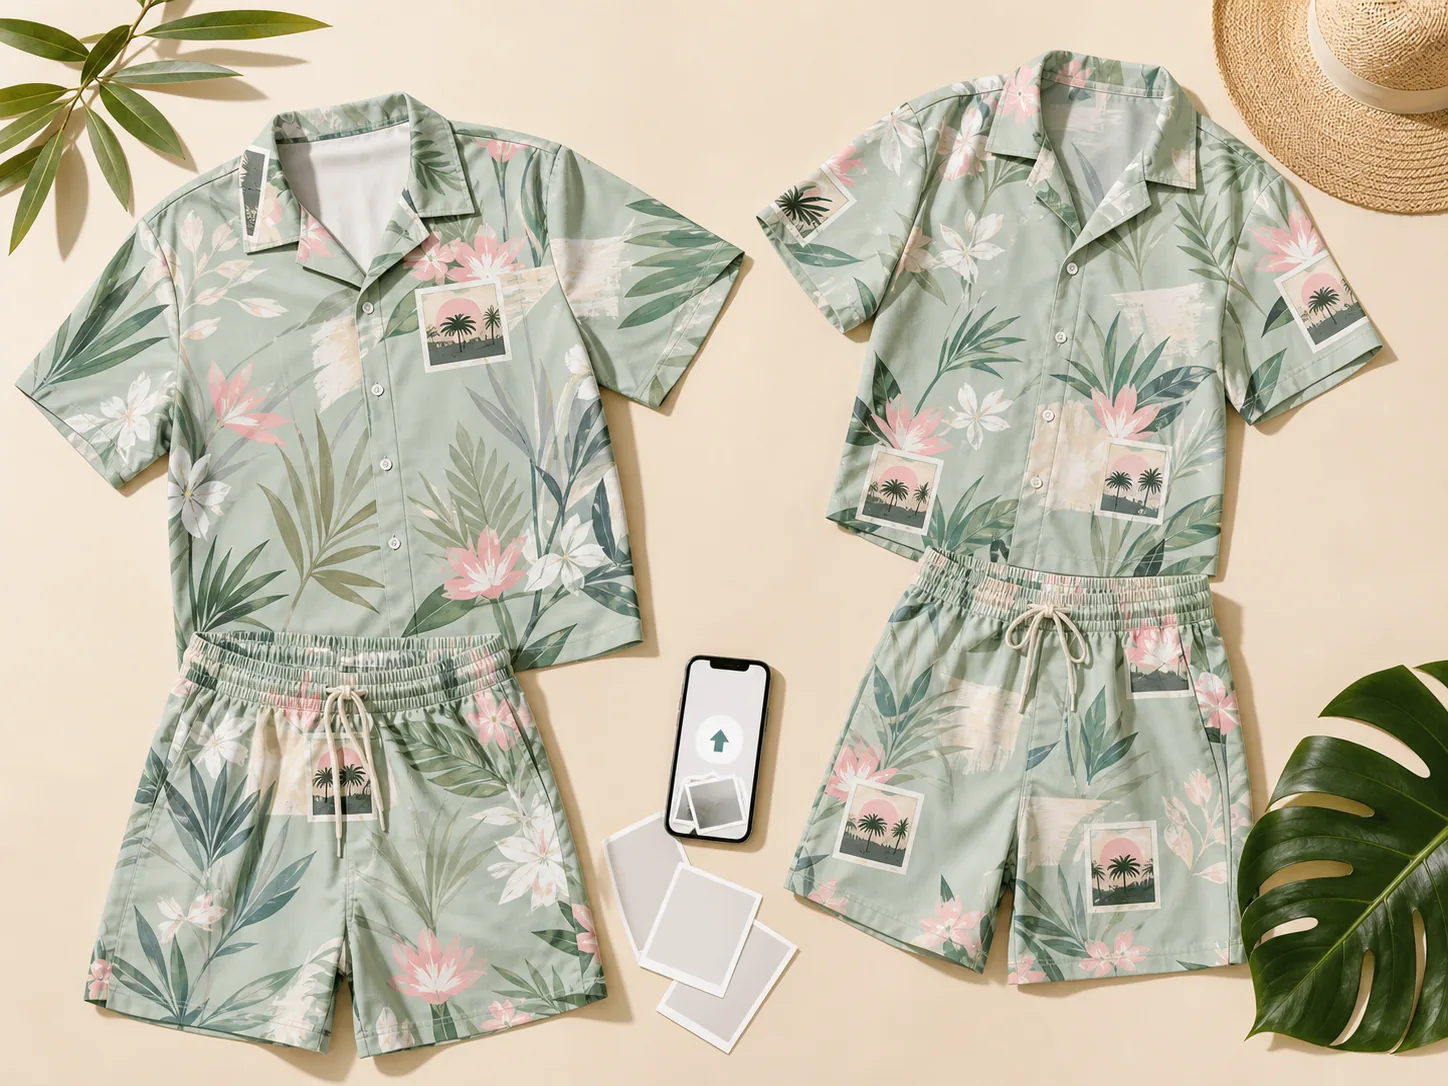
A coordinated look without mixing and matching separate pieces — ideal for couples, families, and bachelor-party groups. Start with custom shirt-and-shorts sets when you want the same photo or theme head to toe.
Common photo upload mistakes
- Uploading a screenshot. Screenshots are usually smaller and more compressed than the original — use the source file.
- Choosing a blurry image. If it’s soft before uploading, enlarging won’t fix it. Pick a sharper shot or retake in better light.
- Cramming in too many elements. Multiple faces, logos, names, and dates compete for attention. Choose one focal point and let the rest support it.
- Forgetting the product shape. A crop that works on a shirt may need adjusting for shorts or a set — think about seams, panels, and separate garments.
- Skipping the size guide. A great design still needs the right fit. Check measurements before confirming, especially for groups.
- Ordering too close to the event. Custom apparel needs production and shipping time — order early to allow for questions or delays.
Tips for group and event orders
For a bachelor party, cruise, reunion, or group vacation:
- Agree on one visual theme before collecting images.
- Ask everyone for original, high-quality photos.
- Keep crop styles and lighting reasonably consistent.
- Track names, sizes, filenames, and quantities in one spreadsheet.
- Order a sample or contact support for complex designs.
- Review the full order carefully before checkout.
Planning a stag do? Our companion guide, How to Design a Custom Hawaiian Shirt for Your Bachelor Party, covers themes, sizing, and group coordination in detail.
Photo privacy and permission
Only upload photos you have permission to use. If someone else appears in the image, get their consent before printing it on apparel. Take extra care with private or sensitive pictures, and never use photos of children without a parent or guardian’s permission.
Frequently asked questions
What is the best file format for a custom shirt photo?
JPG and PNG are the most practical choices for photo uploads. Always check the specific product page, since accepted formats and file-size limits can vary.
Can I use a photo of my pet?
Yes. A clear pet photo works well — choose an image where the eyes and main features are visible, and remove distracting background if needed.
Can I use the same photo on a shirt and shorts?
You can reuse the same design idea across products, but the crop and placement often need to change. Review each product’s instructions before ordering a coordinated set.
Should I remove the background before uploading?
Not always. A transparent background helps a face or logo stand out, but an original photo can look more natural. If unsure, keep the original and add a note describing the result you want.
What if my photo looks blurry after uploading?
Try the original file at a higher resolution, reduce the enlargement, or pick a sharper image. Still unsure? Contact support before finalising your order.
Can I order matching items for a group?
Yes. The Custom Shirt & Shorts Sets collection is a great starting point for couples, families, and events. For larger groups, confirm sizes, quantities, images, and timing before ordering.
Final checklist before checkout
- Selected the original, highest-quality image available
- Face or main subject is clear and well lit
- File format is accepted by the product page
- Image is not overly compressed or blurry
- Reviewed the crop and placement
- Checked the size guide
- Confirmed quantity and shipping address
- Left clear design notes if needed
- Allowed enough time for production and delivery
Create your custom look
Uploading a photo is the first step toward apparel that feels personal instead of mass-produced. Start with the best image you have, prepare it with care, and pick the product that fits your event. Explore custom Hawaiian shirts, custom beach shorts, or custom shirt-and-shorts sets to start designing your next personalised outfit.